ByteEditor Website Builder
Wiki menu
Add Forms
⚠ Note
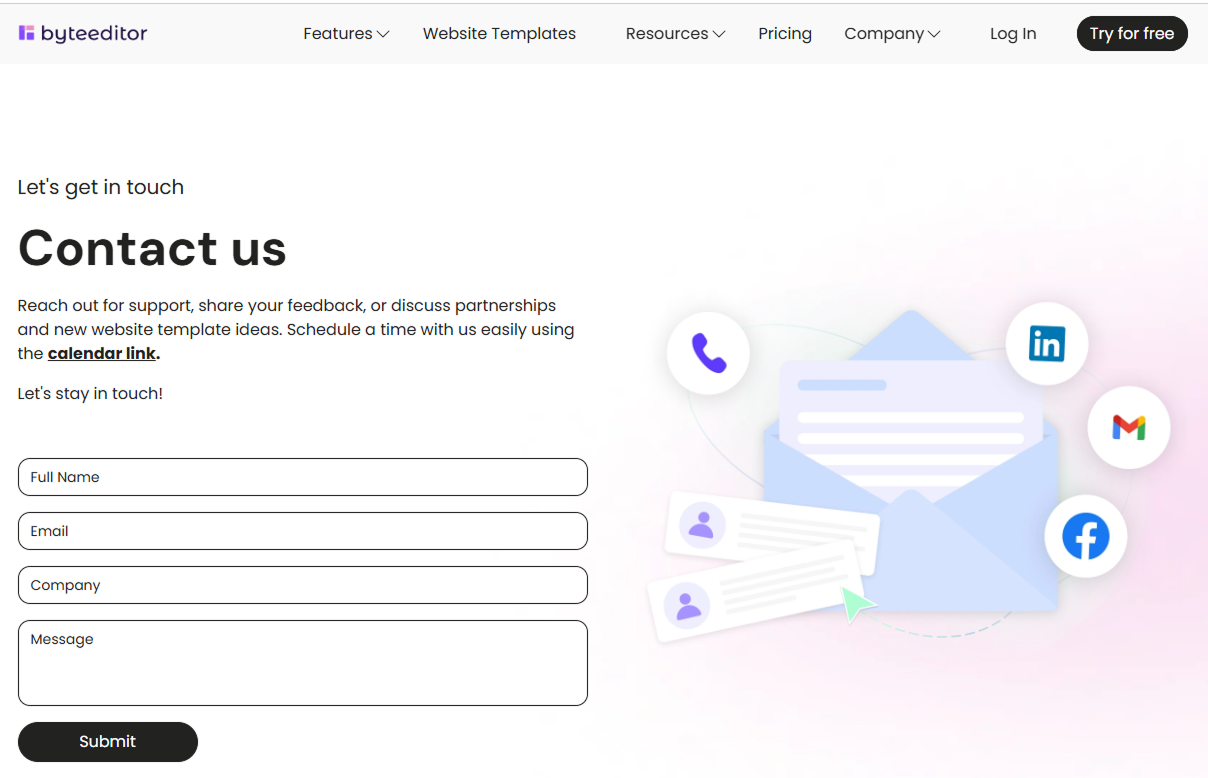
You can add Contact Us and Email forms to your site.
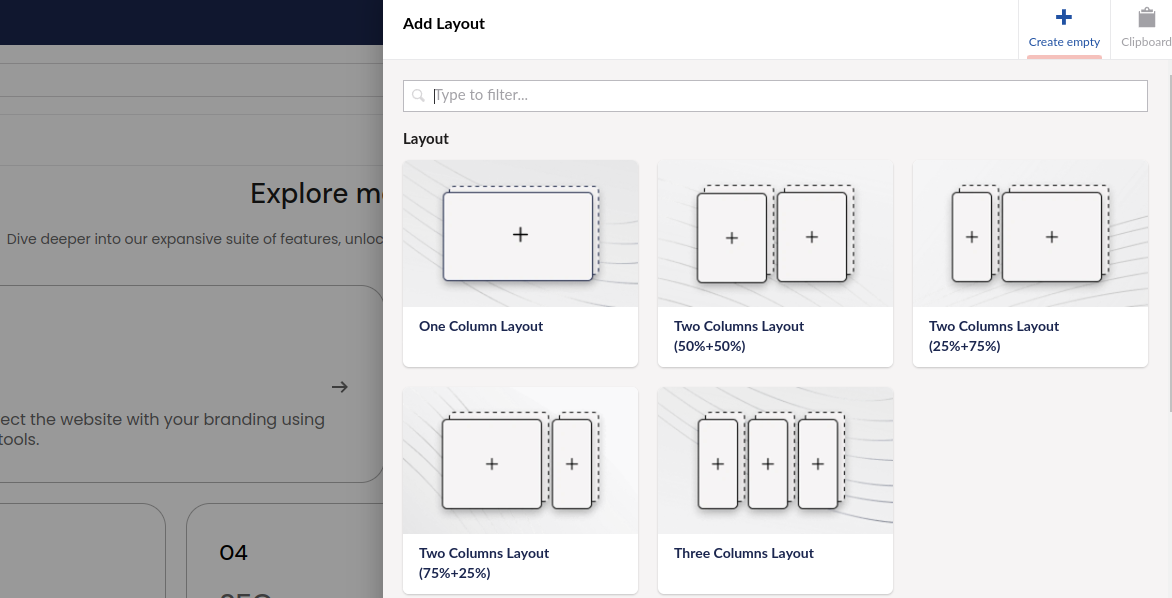
Step 1
Add a new layout for your form and select the appropriate layout.

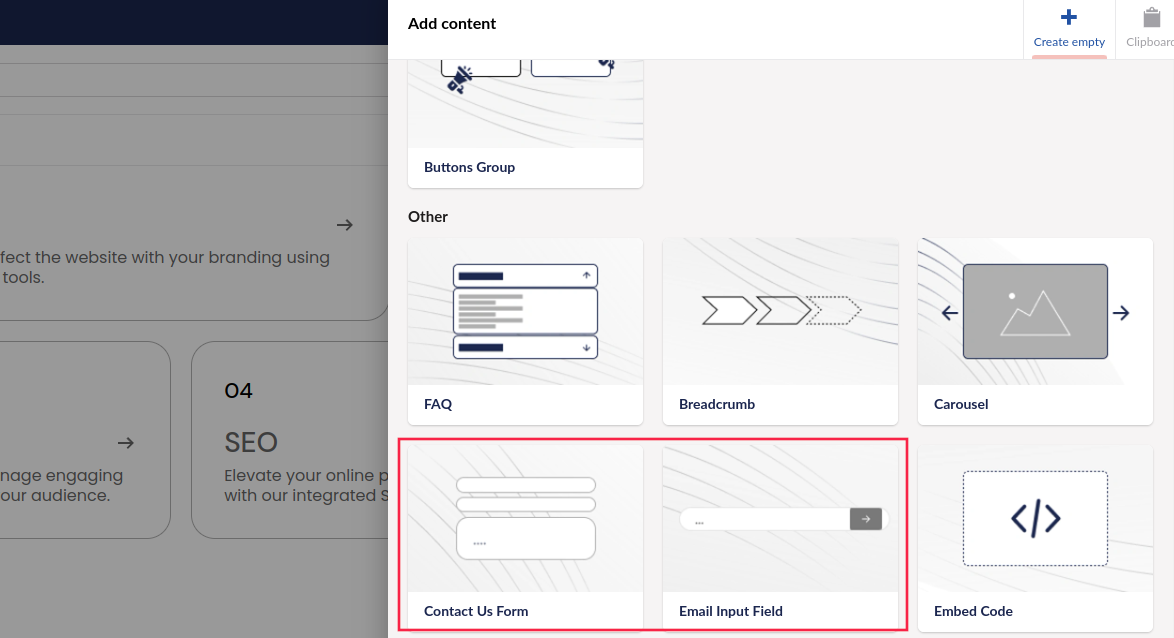
Then, click Add Content to open the content elements window.

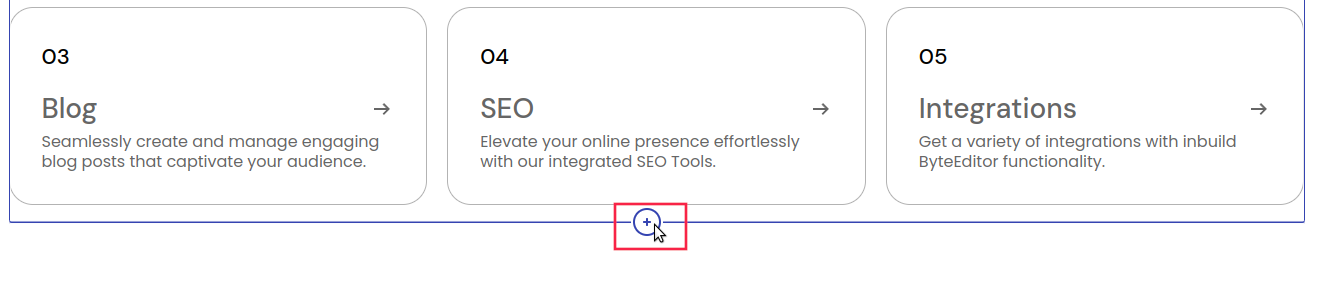
Alternatively, click the plus sign before or after the specific content element where you want to add the form. This will also open the content elements window.
Step 2
Select the form you need—either the Contact Us form or the Email Input Field.
Step 3
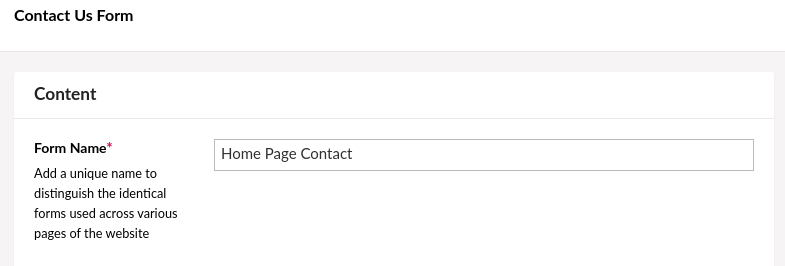
Give your form a unique name for internal use. This name won’t be visible to users but will help you analyze incoming messages.
Step 4
Add to the form needed fields from the list.
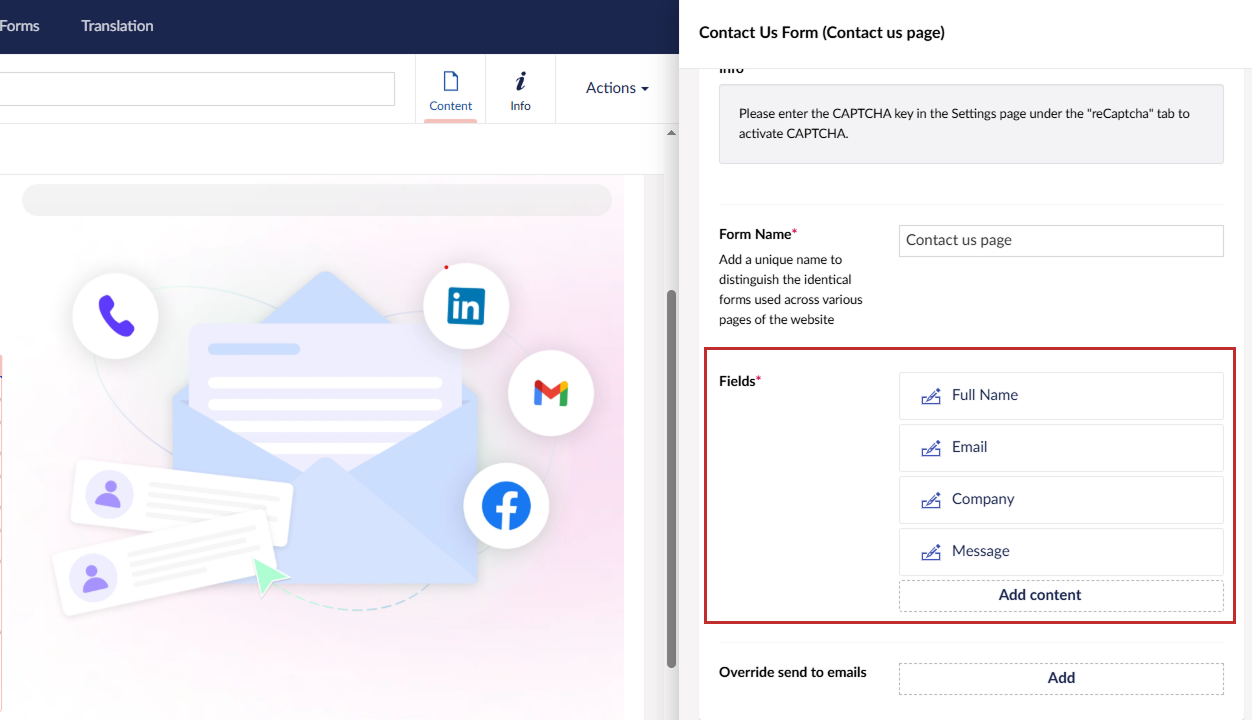
Once named and fields added, click Create.

Step 4
See the form appears on your website.