ByteEditor Website Builder
Create Blog Post
⚠ Note
You can add as many posts to your blog as you like.
Step 1
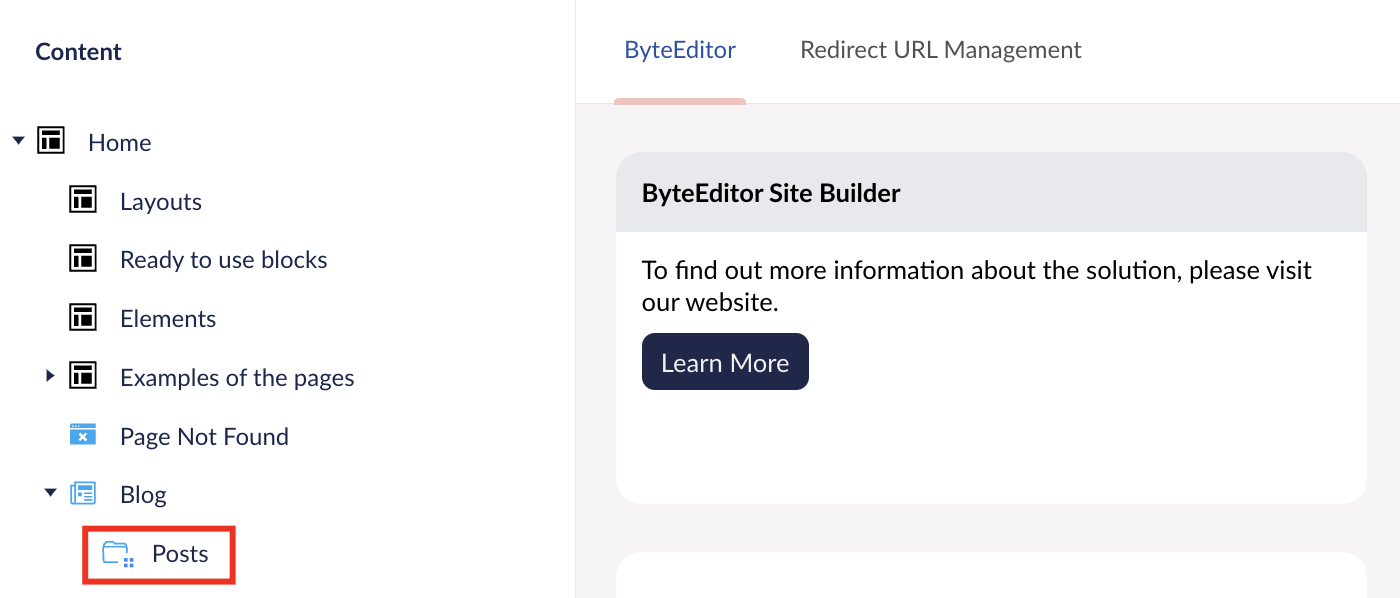
Expand the Blog section in your site's menu and click Posts.
Step 2
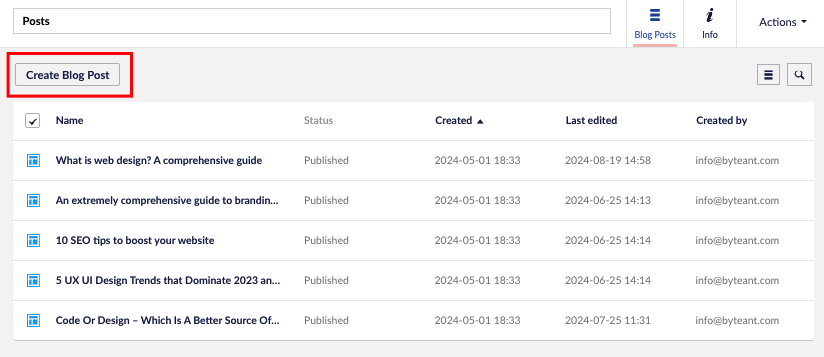
In the window that opens, click Create Blog Post.
Step 3
Enter categories (tags) that will help users find your post. Press Enter after each category. You can add as many categories as needed.

Step 4
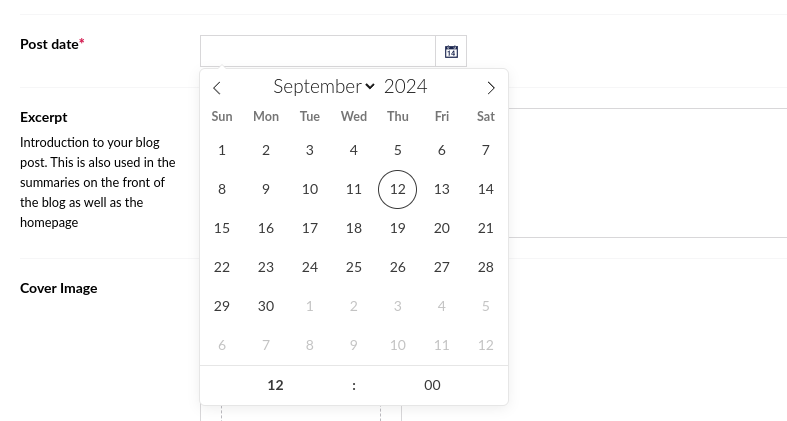
Select the publication date that will appear on your post.
Step 5
Write a short excerpt for your post. This will appear on the main blog page where all posts are listed.

Step 6
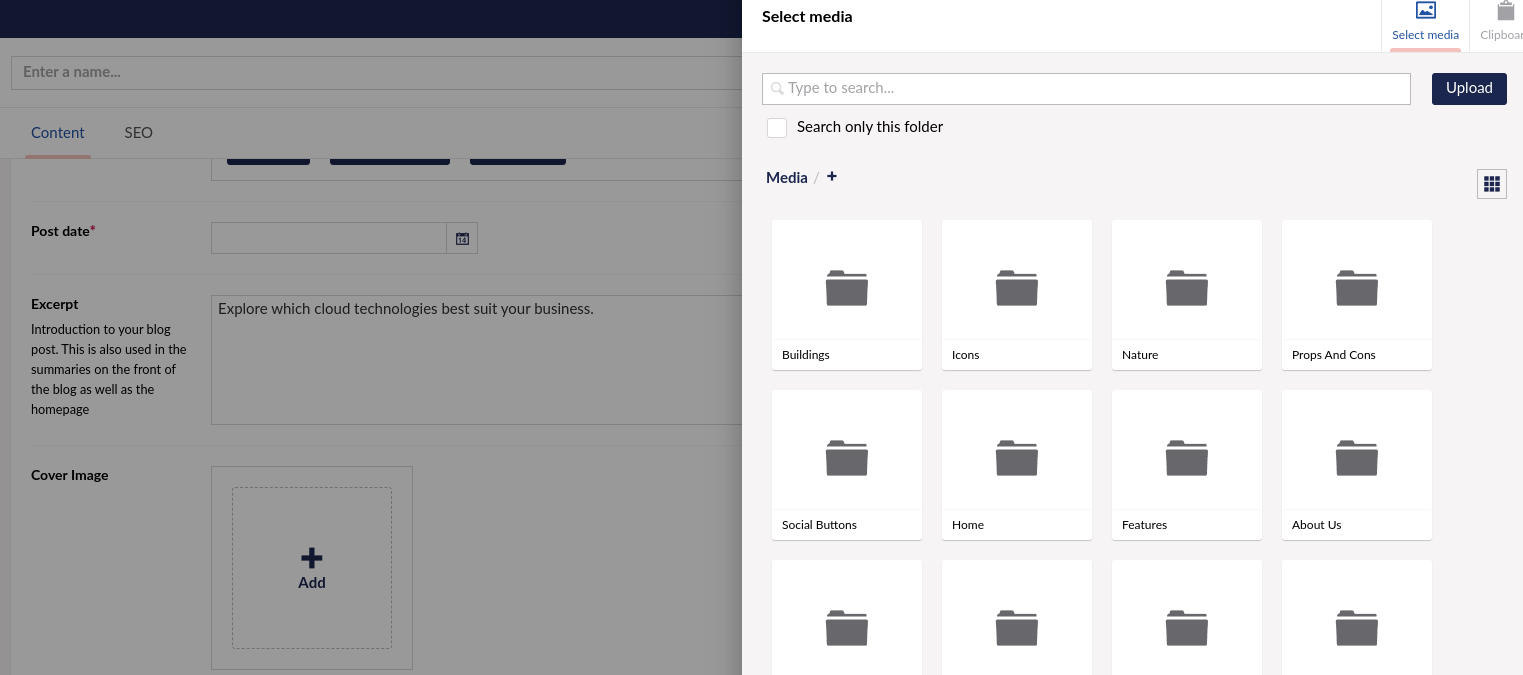
Add a cover image. You can select an image from the available media or upload one from your computer.
Step 7
Add content to your post.
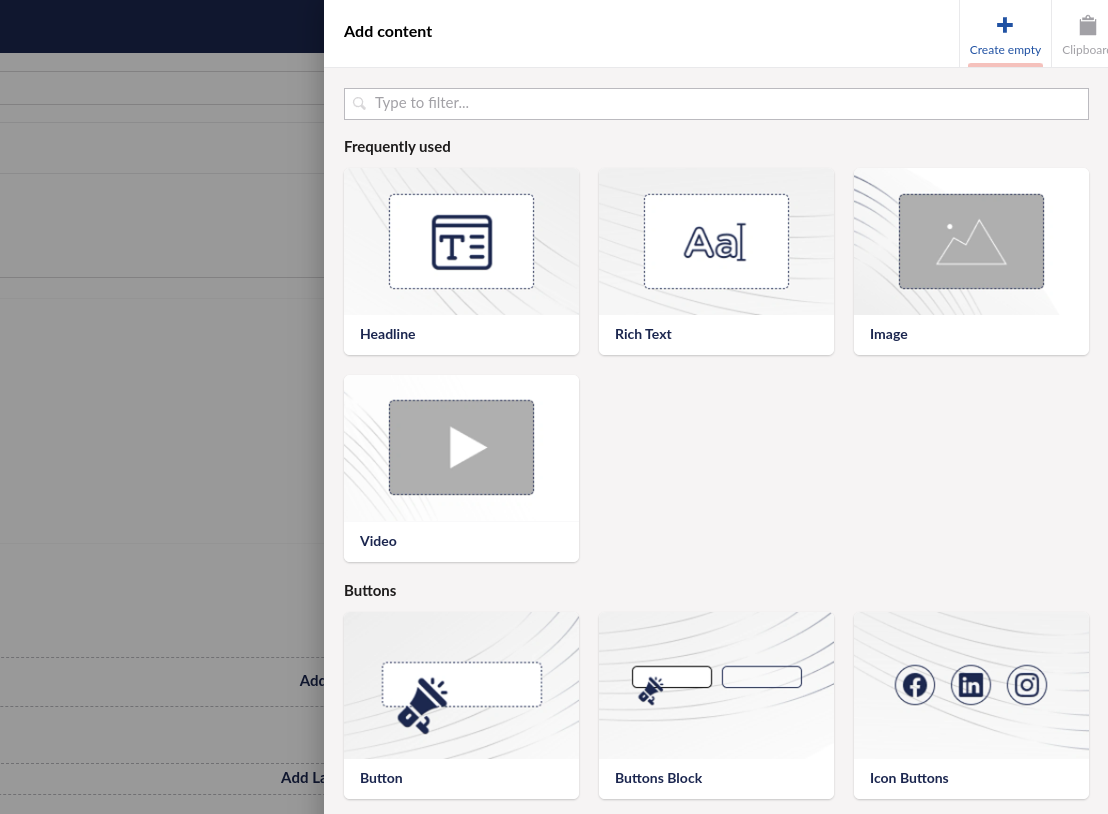
Note: You can add elements like headings, text, images, videos, buttons, FAQs, carousels, code, empty blocks, dividers, roadmaps, contact forms, and email input fields. Elements are placed inside a layout, and you can include one or more elements in each layout.
-
Click Add Layout.

-
Choose the appropriate layout and set layout settings.
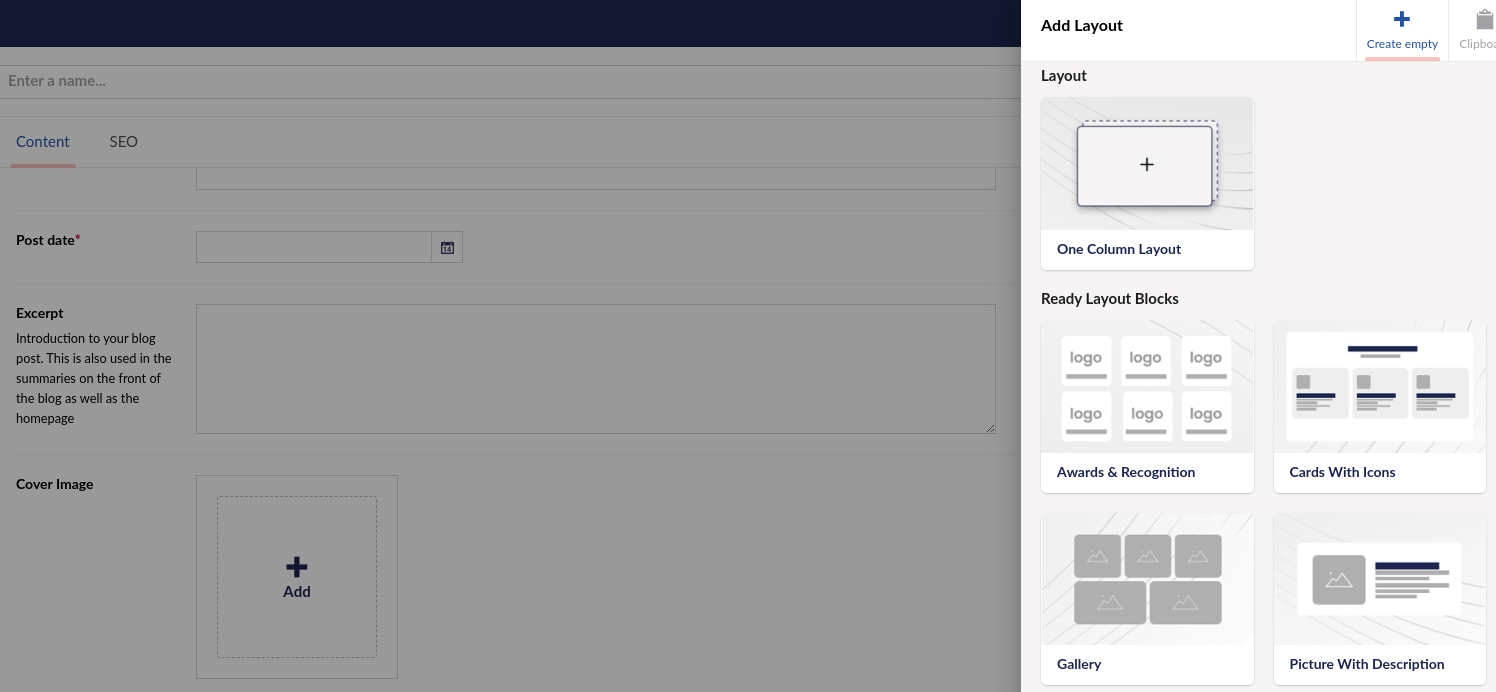
-
In your new layout, click Add Content.

-
Choose the content element you need and set it up as required.
Step 8
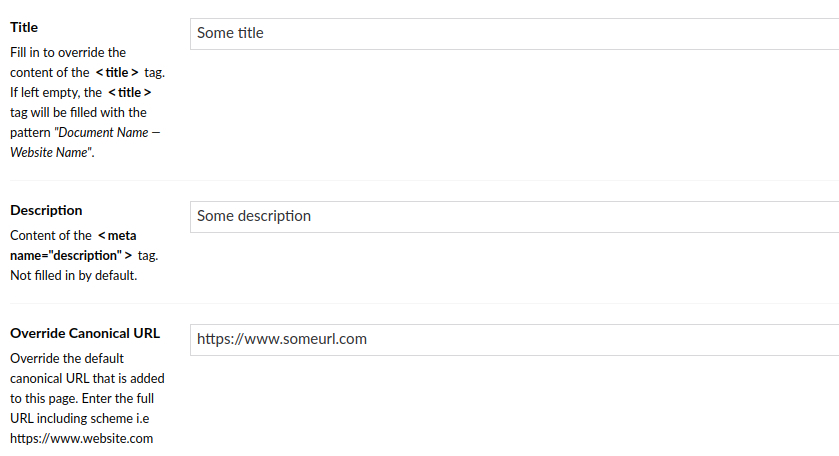
Click SEO on the top panel.

Set the title, meta description, and URL for your blog post.
Step 9
Save your changes.
