ByteEditor Website Builder
Wiki menu
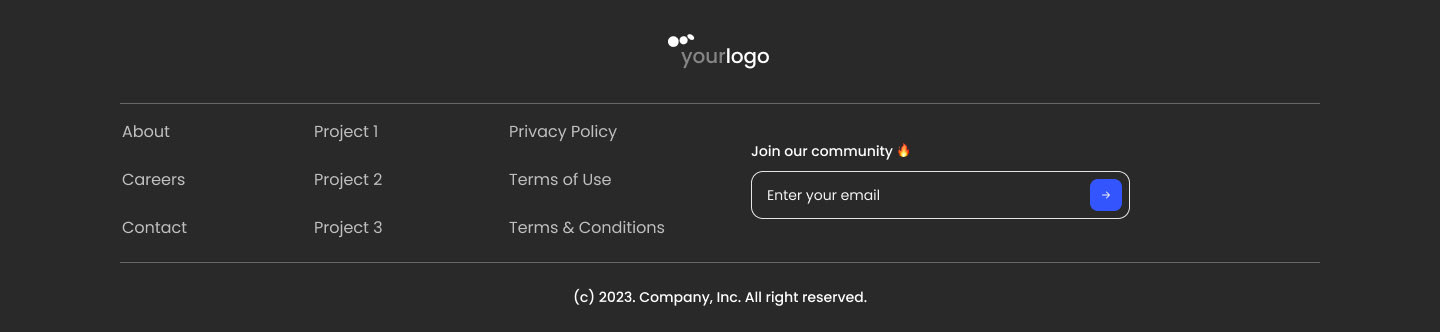
Footer Customization
By following the steps in this instruction, you will be able to create your custom footer. You can use the code snippets provided in the guide to recreate this footer, or you can modify the steps to tailor the footer to your specific needs.
Step 1. Basic changes to the code
- Open the project folder
- Open the “App_Plugins” folder
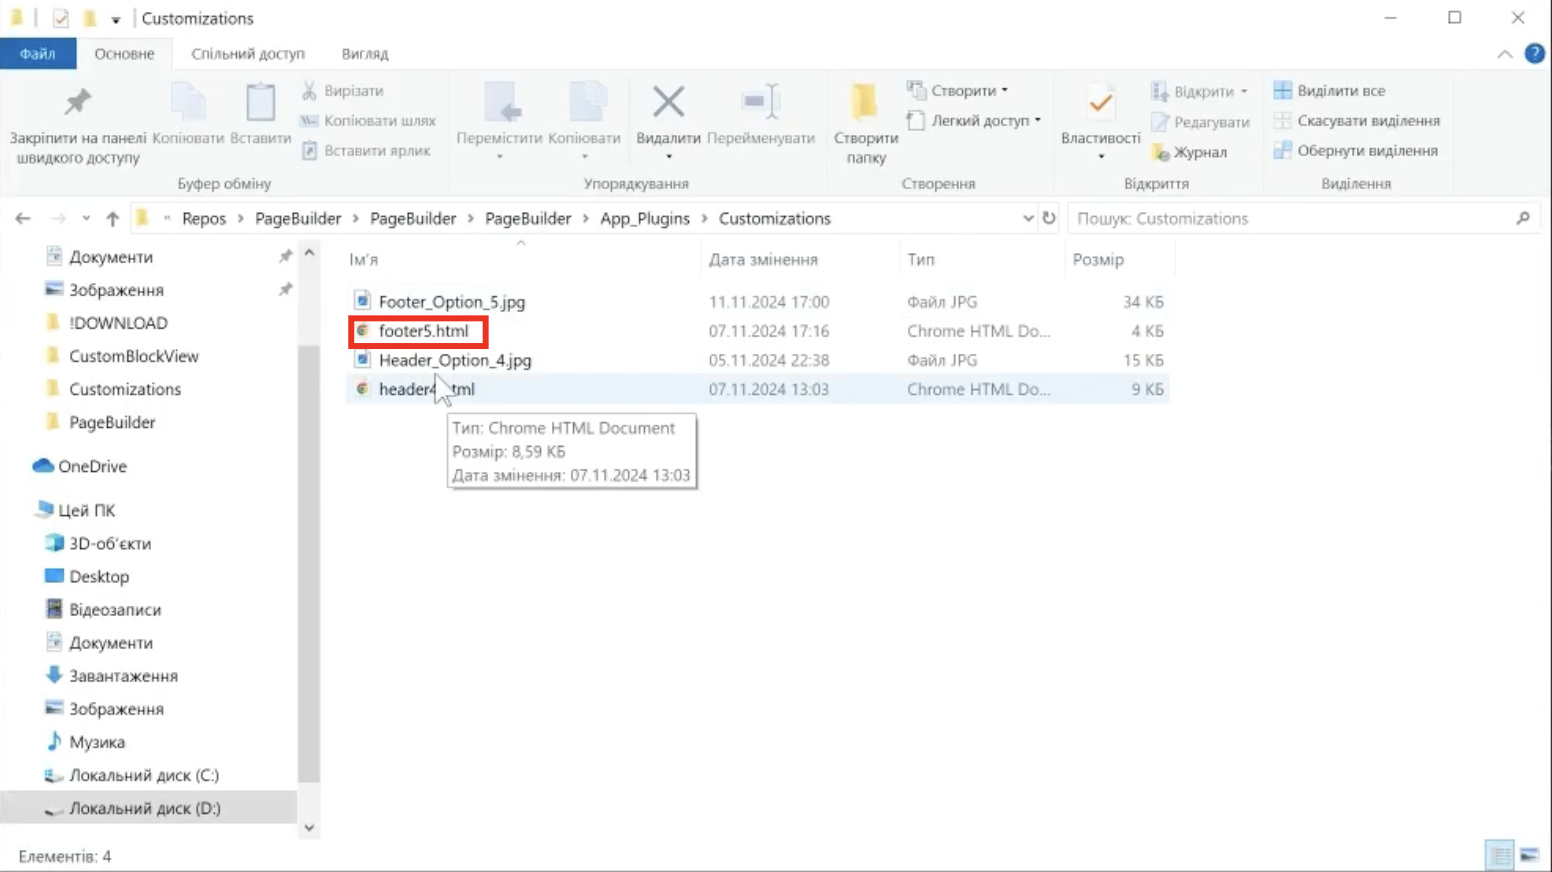
- Create a folder for a custom footer, for example, name “Customization”
- Add a footer image
- Create a test document named “footer5.html”
- Please copy the following code and paste it into the file
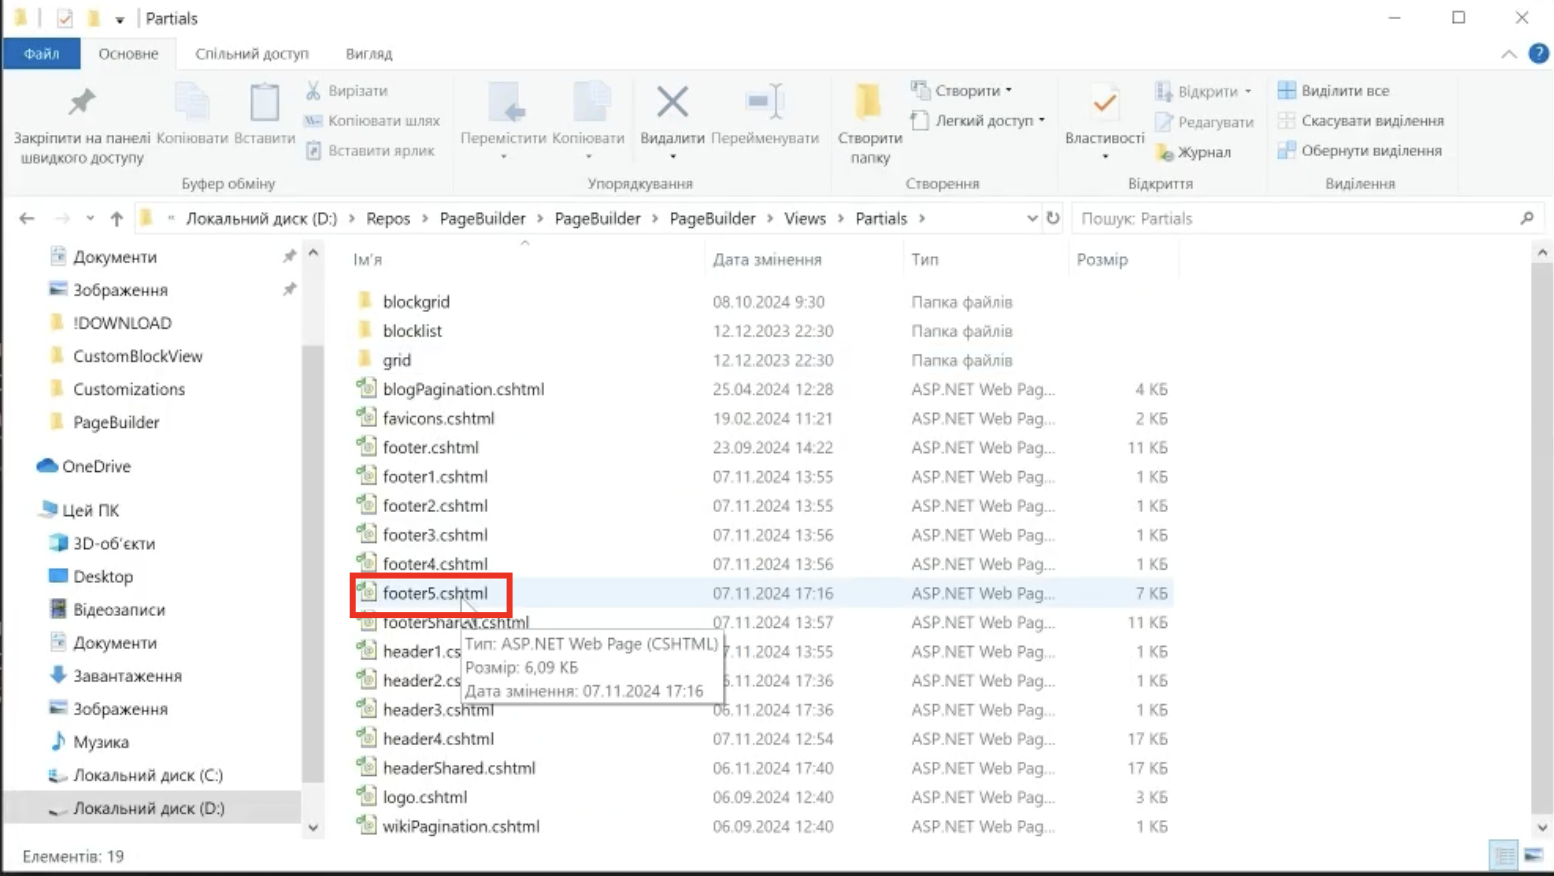
6. Open the “Views” folder
7. Open the “Partials” folder
8. Create a test document named “footer5.cshtml"
9. Please copy the following code and paste it into the file
⚠ Note
You can download the Customisation folder with the files here.
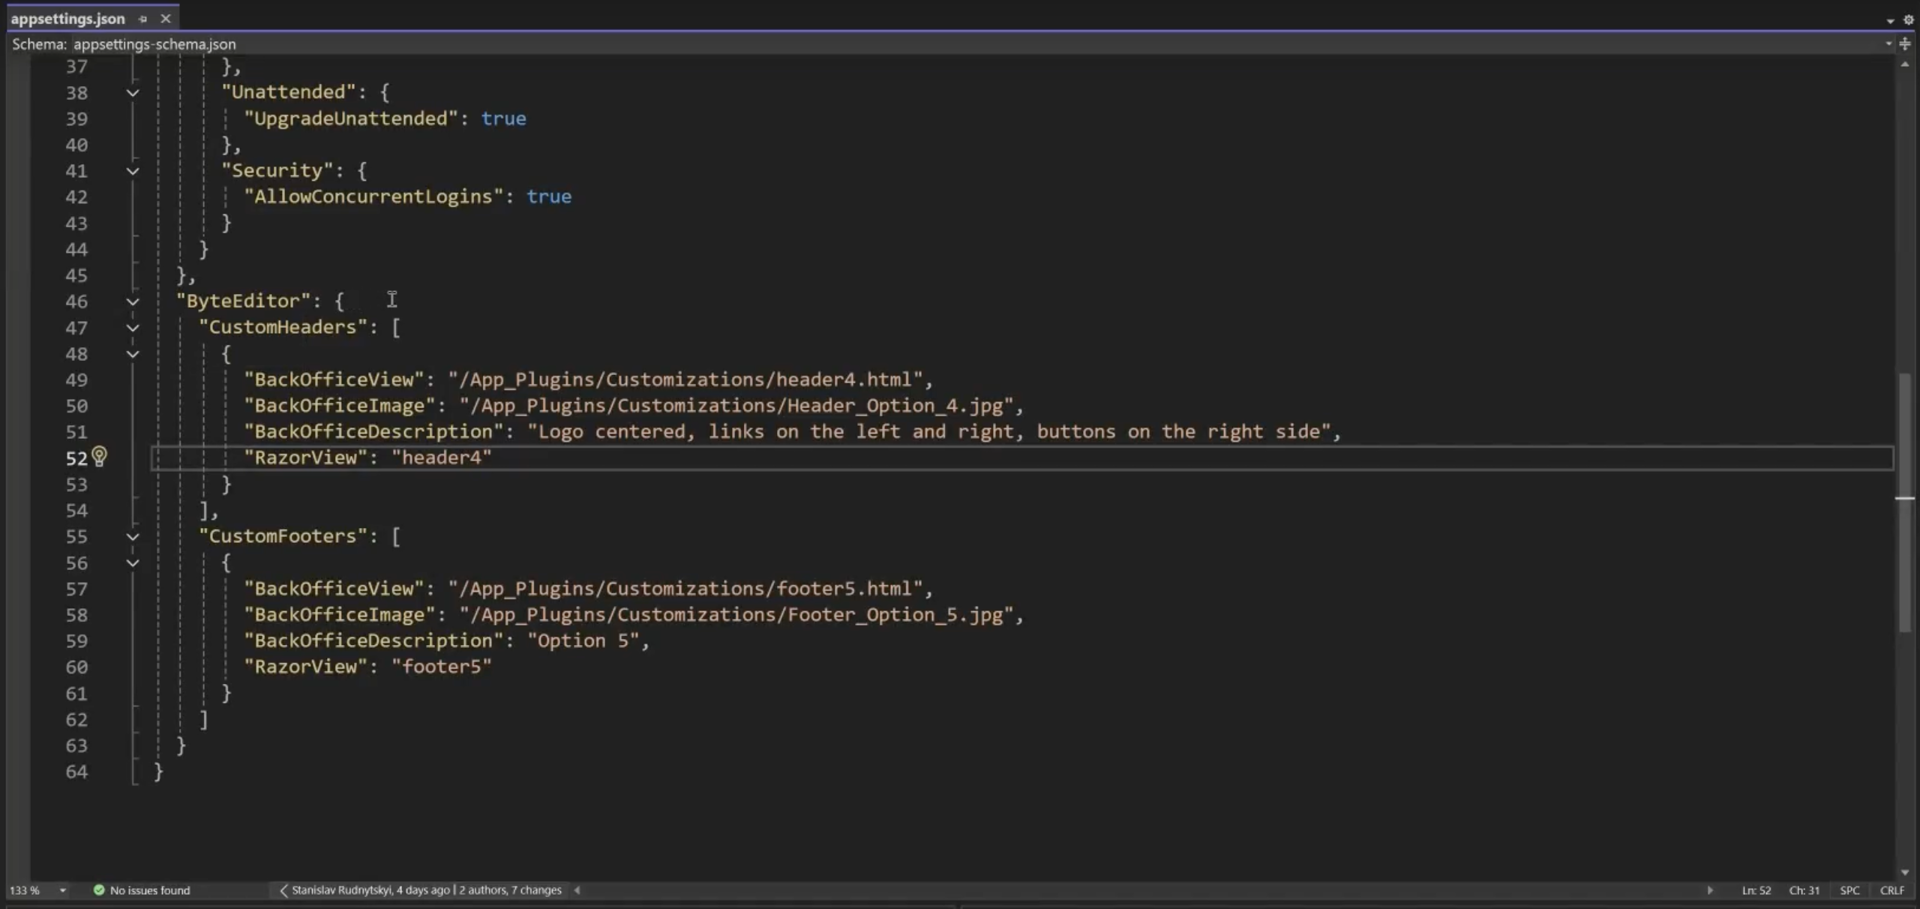
10. Open the project in Visual Studio
11. Open appsettings.json file
12. Copy the following code and paste it into the file