ByteEditor Website Builder
Create Custom Design
⚠ Note
You can create a custom design for your website.
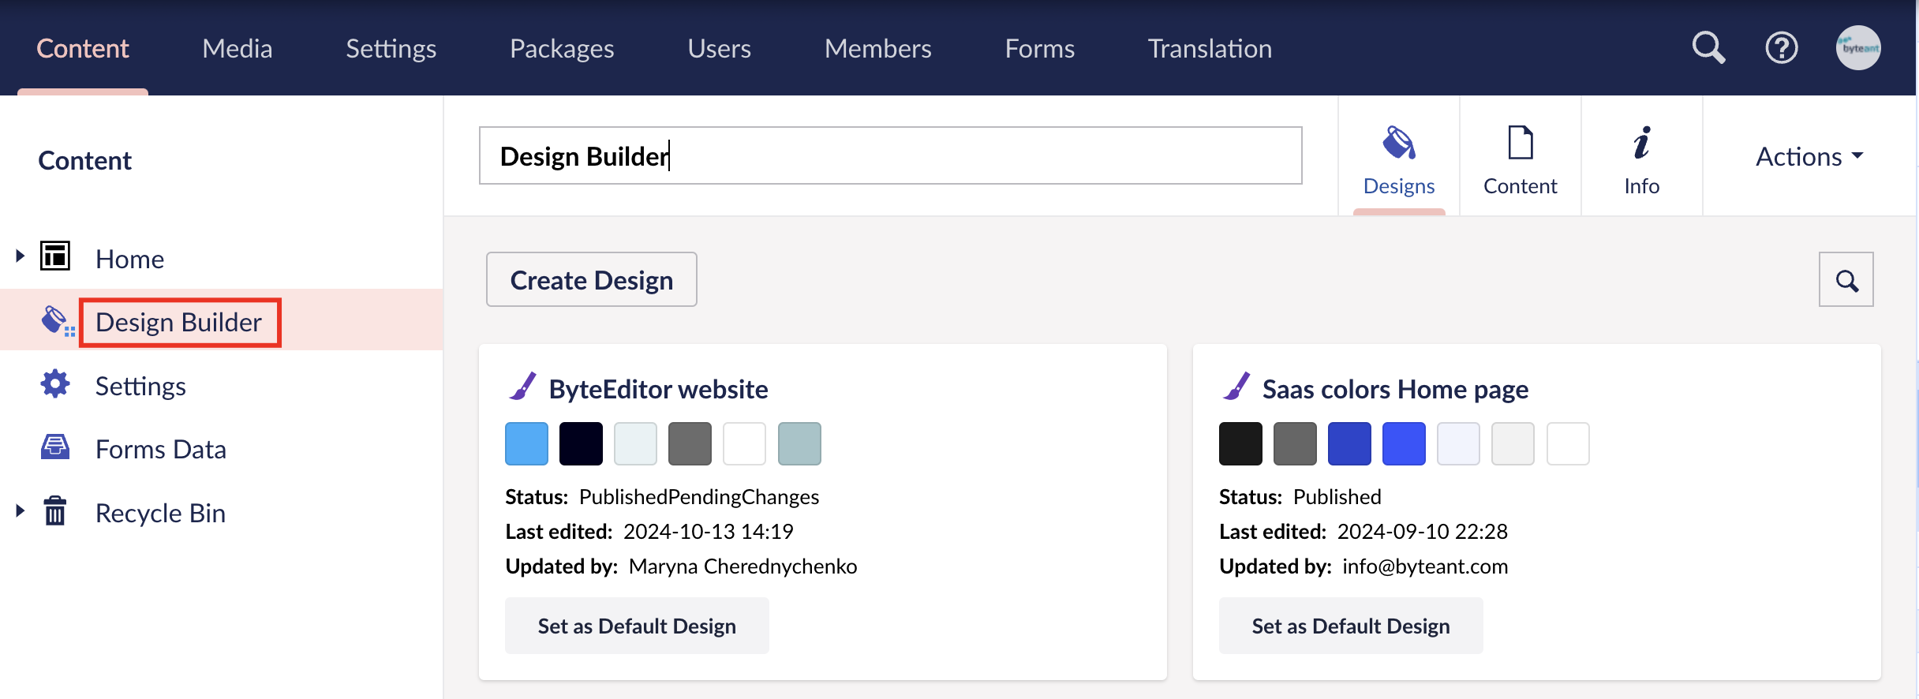
Step 1
Click Design Builder in the content menu of your site.
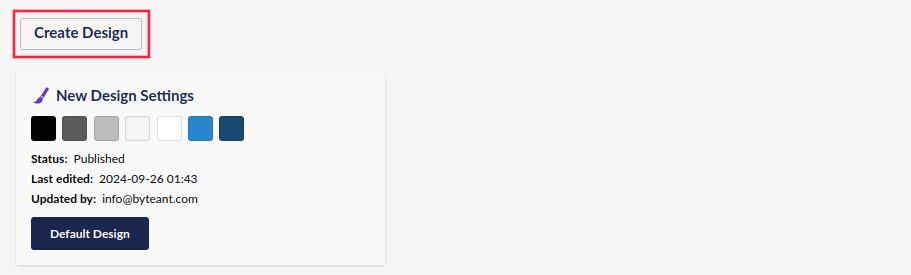
Step 2
In the window that opens, click Create Design in the upper left corner.
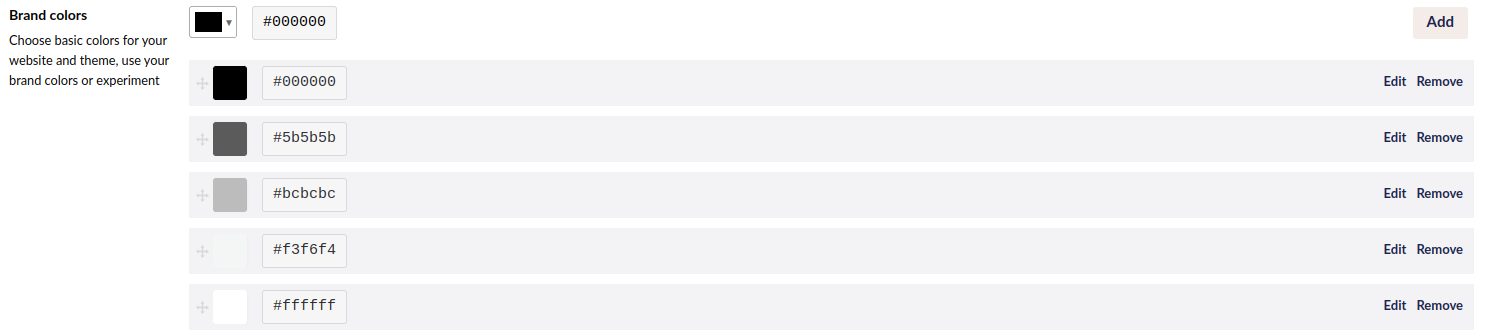
Step 3
Set colors.
-
Click Colors in the top left corner of the panel.

-
Customize brand colors of your design theme.
-
Adjust the colors of your website elements as needed.

- Create custom styles.

Learn more about setting colors here.
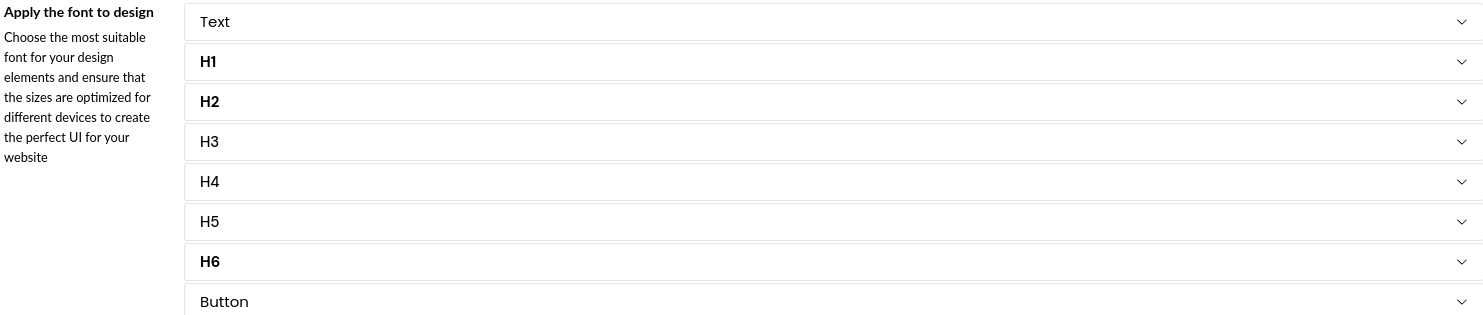
Step 4
Set fonts.
-
Click Fonts in the top left corner of the panel.

-
Choose the fonts for your design.

-
Assign these fonts to text, headings, and button titles.
Learn more about setting fonts here.
Step 5
Set theme effects.
-
Click Effects in the panel.

-
Adjust the border radius for pictures, videos, and buttons.

-
Set drop shadows for pictures, videos, and cards.

Learn more about setting effects here.
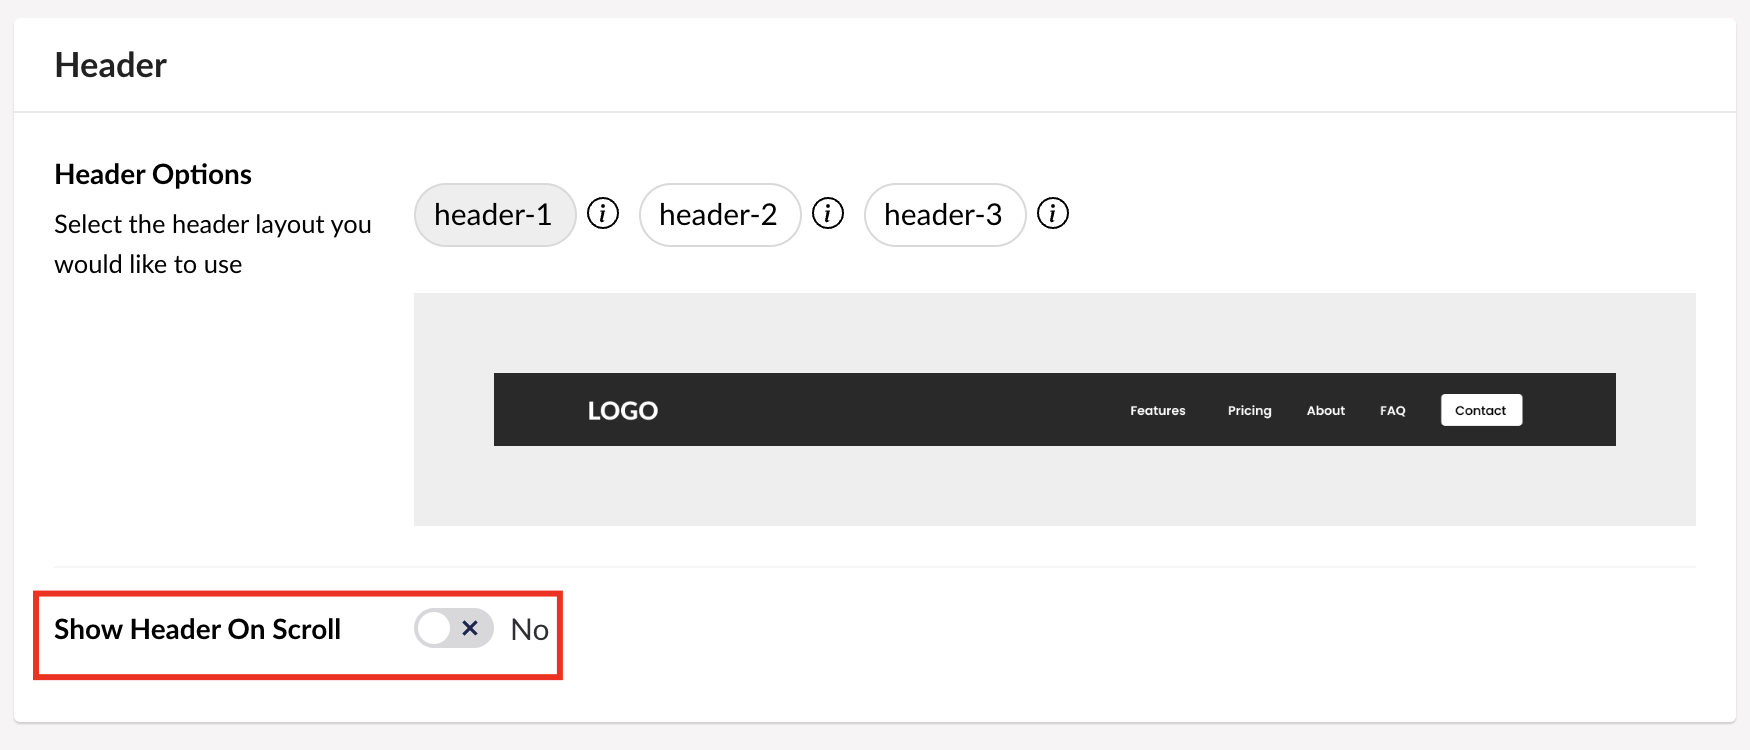
Step 6
Set header and footer.
- Click Header & Footer in the panel.

-
Choose from the available header and footer options. Decide if the header should remain visible when scrolling by selecting Yes or No.
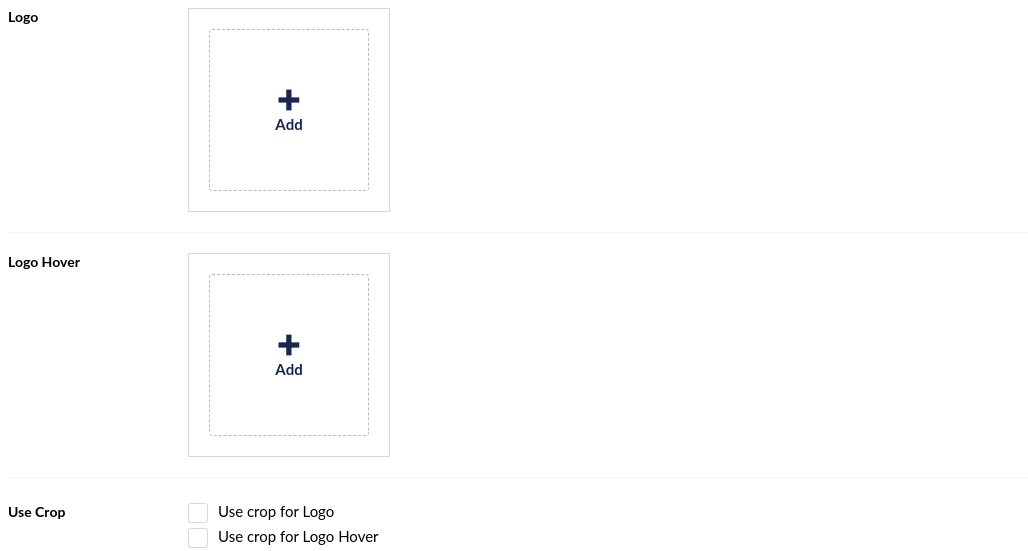
Step 7
Set logo.
-
Click Logo in the panel.

-
Set the Logo and Logo Hover by clicking the plus sign in the corresponding sections. If needed, use the crop tool to adjust them.
Learn more about setting header and footer here.
Step 7
Save your changes.
