ByteEditor Website Builder
Wiki menu
Add Styling
⚠ Note
You can add custom styles to individual content elements within your design theme.
Step 1
Choose the desired design theme. To do this, go to Design Builder and select the theme.

Step 2
Click on Colors in the top panel.

Step 3
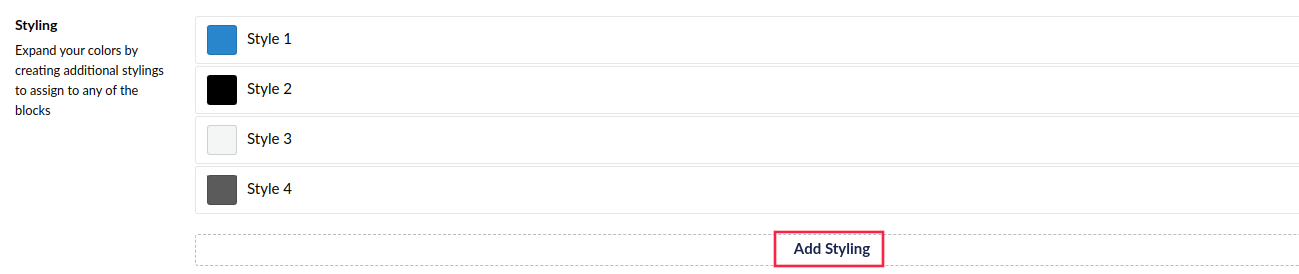
Scroll down and click Add Styling.
Step 4
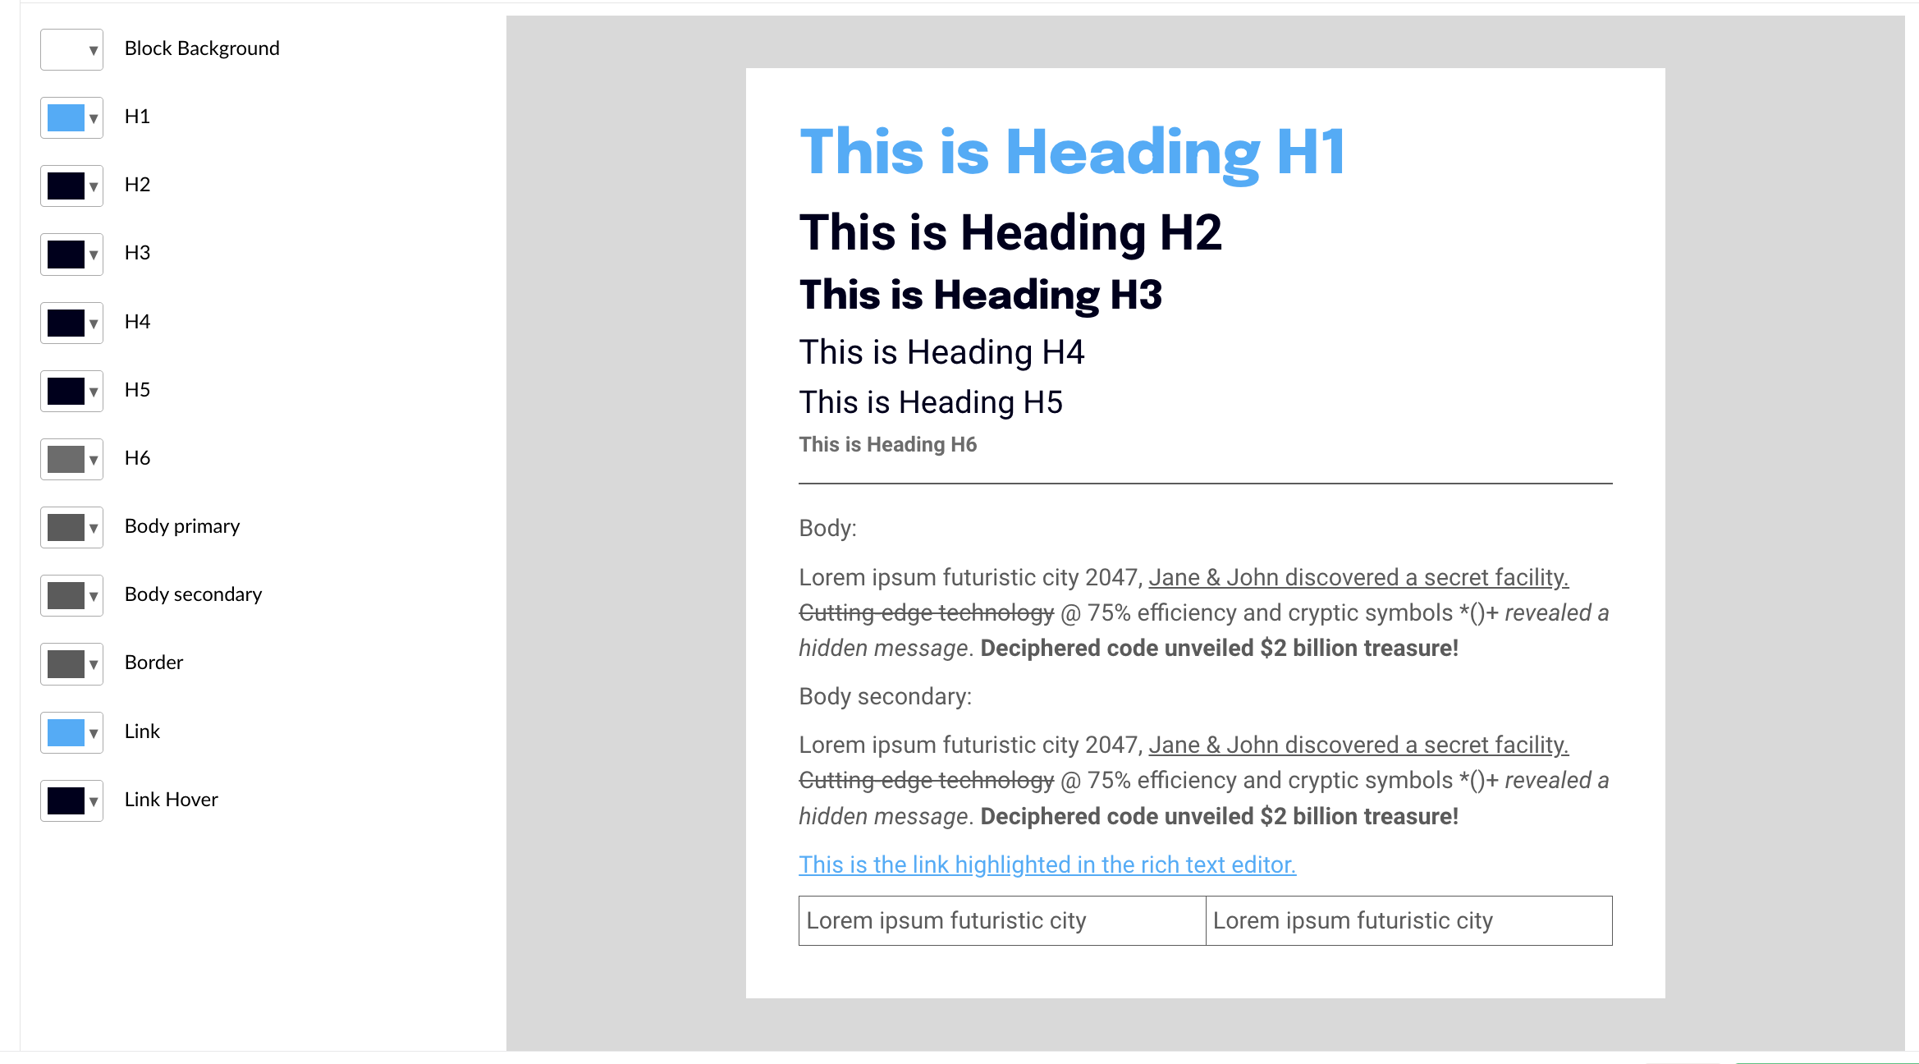
In your new styling, set the colors for design elements, such as the background, headers, borders, links, and buttons.
Step 5
Save your changes.

Step 6
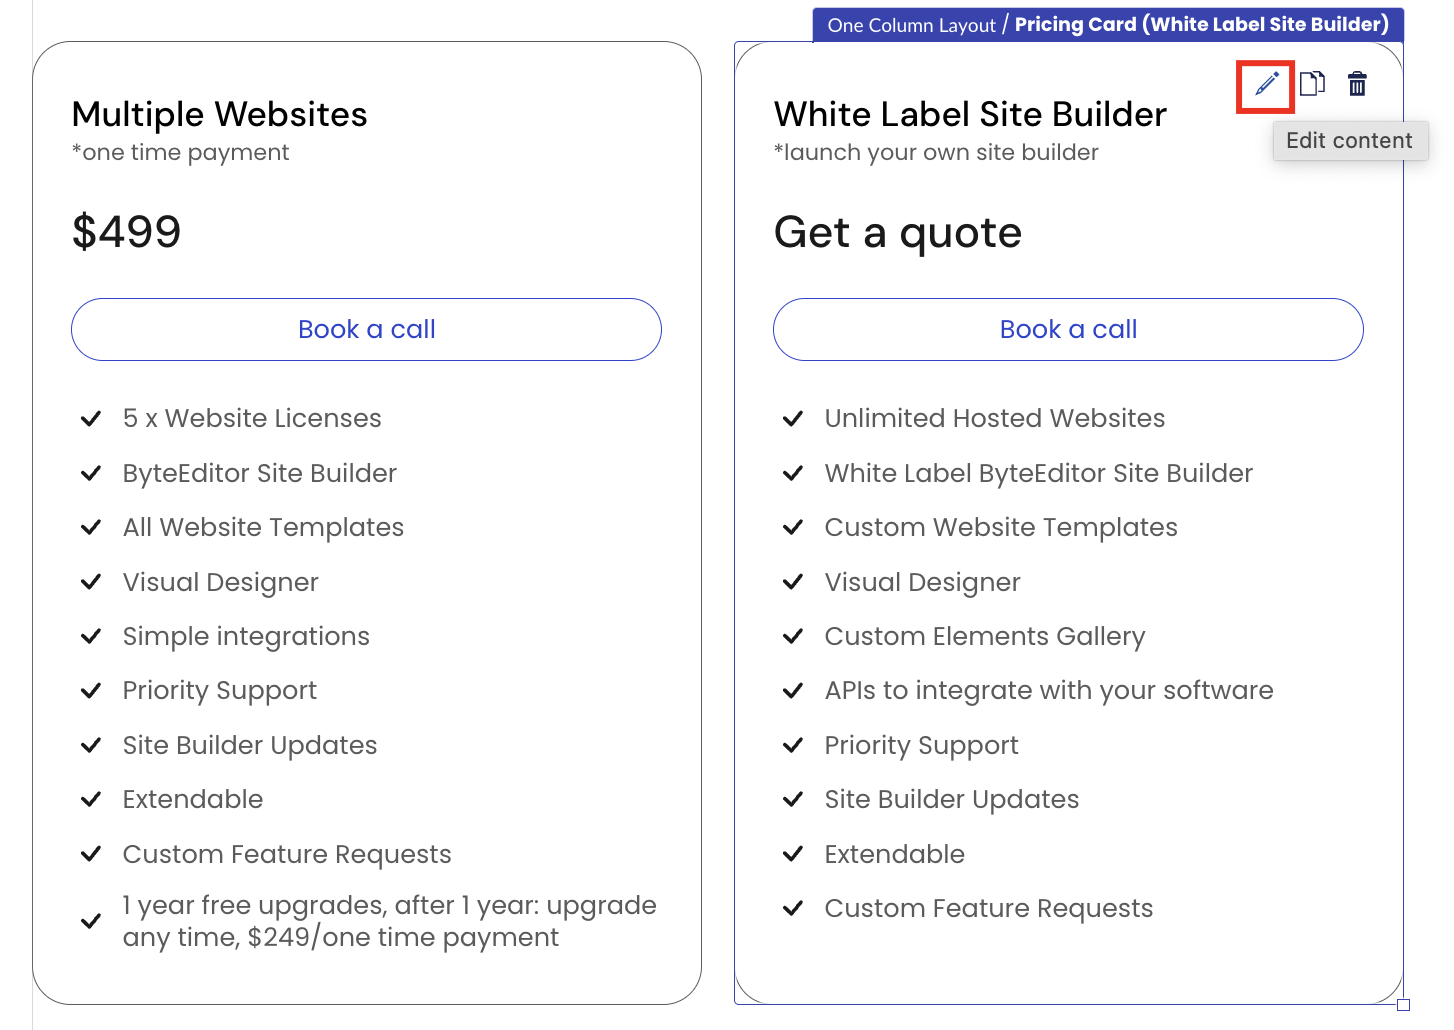
In the back office, add a new content element or edit an existing one. In this example, we are editing the existing pricing card.
Step 7
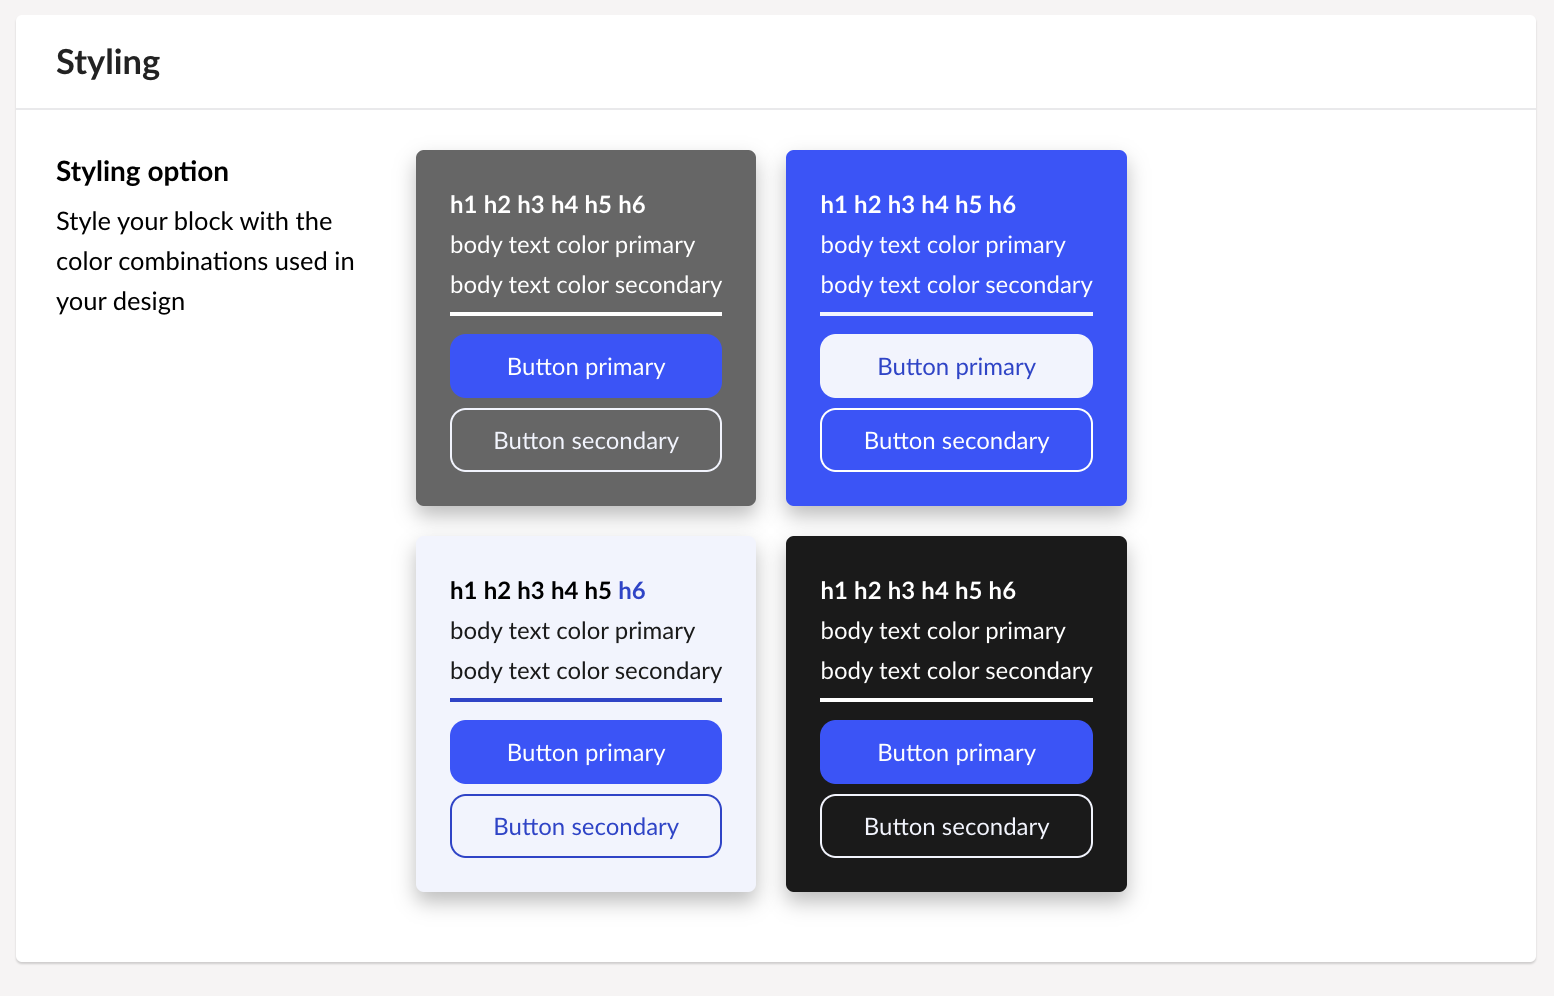
Scroll down and choose the desired style.
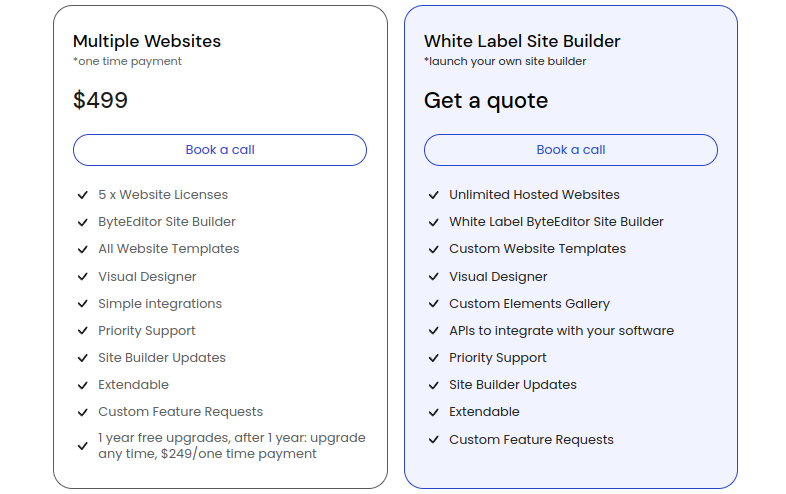
Step 8
The selected style will be applied to the chosen content element (in this case, a pricing card).
Step 9
Save your changes