ByteEditor Website Builder
Installation Guide SQLite
Compatible versions
Important information
This guide is for ByteEditor Website Builder 1+ (and up) with Umbraco 13.X. Currently, we do NOT support Umbraco 14 and 15.
Since Umbraco 13 is a long-term supported version we recommend using this version.
ByteEditor Website Builder must be installed on a clean version of Umbraco CMS with no other starter kits or website templates installed or configured.
Before installation
Install the latest .NET SDK.
Step 1
Open the command-line interface.
You can do this by navigating to any folder on your machine and typing cmd into the browser bar followed by the enter key.
Step 2
Copy-paste the following scripts one by one. You can give the solution and project different names if you wish, these are only an example.
# Ensure we have the compatible Umbraco templates
dotnet new install Umbraco.Templates::13.* --force
# Create new solution
dotnet new sln --name "Your website name"
# Create new Umbraco project
dotnet new umbraco --force -n "Your website name" --friendly-name "Admin" --email "your@email.com" --password "1234567890" --development-database-type SQLite
# Add project to solution
dotnet sln add "Your website name"
# Add ByteAnt.ByteEditor package to project
dotnet add "Your website name" package ByteAnt.ByteEditor
# Run
dotnet run --project "Your website name"
How to install one of the ByteEditor templates
Change the penultimate script from step 2 to one of the following scripts
# Ensure we have the compatible Umbraco templates
dotnet new install Umbraco.Templates::13.* --force
# Create new solution
dotnet new sln --name "Your website name"
# Create new Umbraco project
dotnet new umbraco --force -n "Your website name" --friendly-name "Admin" --email "your@email.com" --password "1234567890" --development-database-type SQLite
# Add project to solution
dotnet sln add "Your website name"
# Add ByteAnt.ByteEditor package to project
dotnet add "Your website name" package ByteAnt.ByteEditor
# Run
dotnet run --project "Your website name"
Saas/Startup Website Starter Kit
# Add ByteAnt.ByteEditor.SaasStarterKit package to the project
dotnet add "Your website name" package ByteAnt.ByteEditor.SaasStarterKit
Agency Website Starter Kit
# Add ByteAnt.ByteEditor.AgencyStarterKit package to the project
dotnet add "Your website name" package ByteAnt.ByteEditor.AgencyStarterKit
Portfolio Website Starter Kit
# Add ByteAnt.ByteEditor.PortfolioStarterKit package to the project
dotnet add "Your website name" package ByteAnt.ByteEditor.PortfolioStarterKit
Other Website Templates
See our NuGet page for other template packages and their names.
Step 3
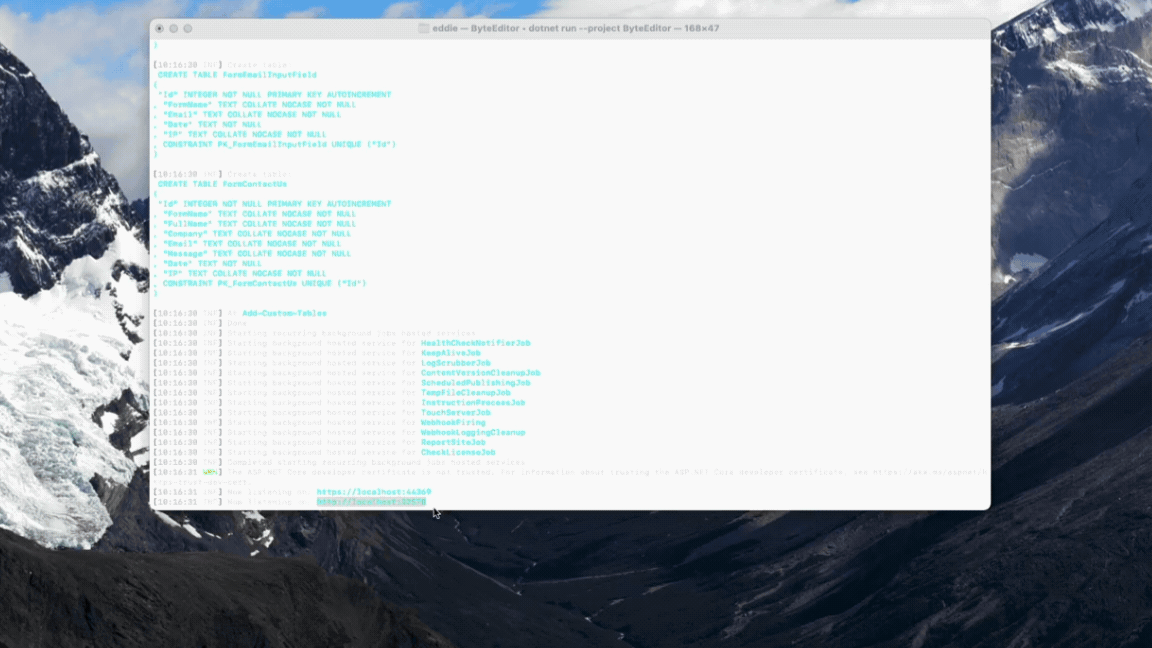
Once the script has finished running, you will see a console message similar to this:
[22:59:11 INF] Now listening on: https://localhost:6858
Open your preferred web browser and navigate to the localhost URL in the console message.
ByteEditor Website Builder and Umbraco CMS will now be fully running on your local machine.
Access Admin Panel
To access the admin panel of your website, add /umbraco to the end of your website's URL.

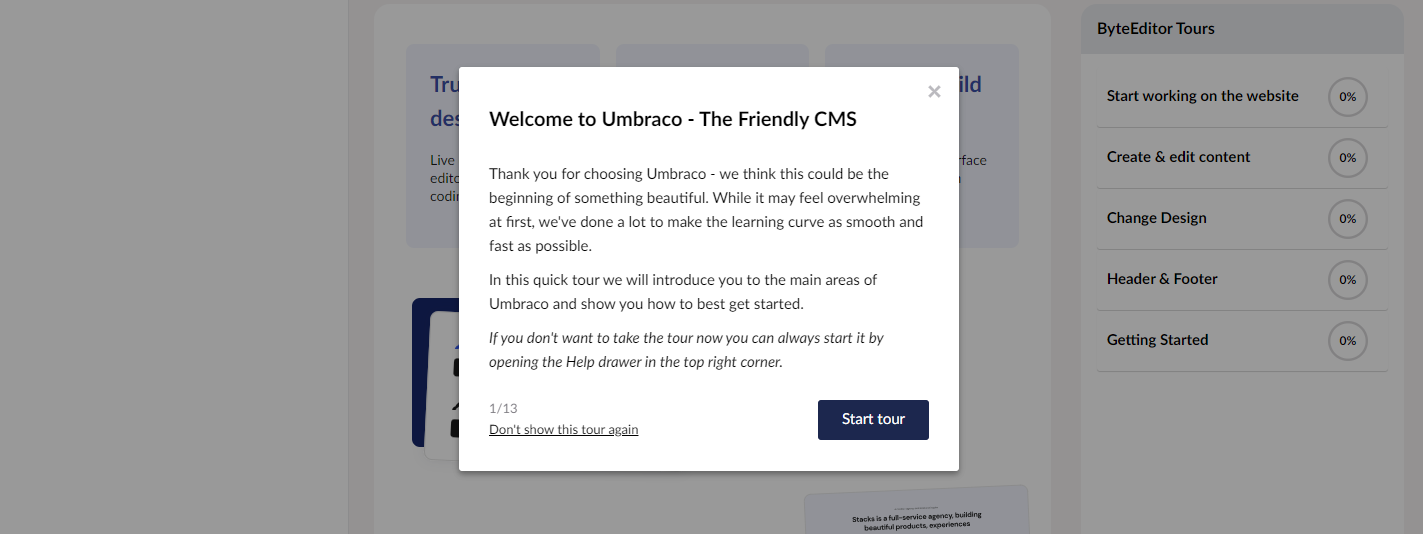
Check Guides
Please refer to our built-in guides to familiarize yourself with the main functionality in Umbraco Backoffice.