ByteEditor Website Builder
Installation Guide MS SQL Server
Don't know how to code? No problem! You can launch your website in just 10 minutes—no coding skills required.
To get started, install Umbraco CMS and ByteEditor Site Builder with MS SQL Server. Follow the instructions below.
Important information
Latest compatible version
This guide is for ByteEditor Site Builder 1.X (and up) with Umbraco 13.X. Currently, we do NOT support Umbraco 14.X.
As Umbraco 13.X is a long-term supported version we recommend using this version.
ByteEditor Site Builder must be installed on a clean version of Umbraco with no other starter kits or websites previously installed or configured.
Needed Tools
Please install these tools on your device before starting the product launch.
Step 1. Install Umbraco
Before installing the ByteEditor site builder, we need to install Umbraco and create a new empty project based on Umbraco CMS. Follow the steps below to do that:
1. Go to the Umbraco website.
2. Open the Command Prompt on your device.
3. Copy "dotnet new install Umbraco.Templates::13.*" to the Command Prompt and press the [Enter] button.
The latest version of Umbraco Templates is now installed. Let's move forward and create an empty Umbraco project in Visual Studio.
Step 2. Create new Umbraco project
To create a new project in Visual Studio, follow these steps:
1. Open Visual Studio 2022.
2. Click the "Create a new project" button on the start screen.
3. Search for "Umbraco Project (Umbraco HQ)" using the search fields or filters.
4. Give your new project a name and location to configure it.
Your project is now created. The next step is to create the database for your project.
Step 3. Create a database
To create a database, please open Microsoft SQL Management Studio on your device.
1. Click on the [Database] button and then select [New Database].
2. Name your database the same way you named your Umbraco project.
Your database has been created. Now, let's launch our project.
Step 4. Start the project
To start your Umbraco project, please follow the steps below:
1. Open Visual Studio 2022 and click on IIS Express to start the project.
2. Wait for a pop-up window called "Install Umbraco" to appear.
3. Fill in your name, email, and password in the provided fields. Please remember these credentials as you will need them later to access the admin of your website.
4. Click on the "Change Database" button and select SQL Server. In the Server field, enter "Localhost" and provide a name for your database.
5. Check the authentication check boxes at the bottom of the pop-up window.
6. Press the "Install" button.
After completing these steps, you will have a website based on Umbraco CMS without any add-ons. In the next step, we will add the ByteEditor solution to your project.
Step 5. Add ByteEditor Site Builder
To add the ByteEditor site builder to your project, follow these steps:
1. Go back to Visual Studio.
2. Click on the "Tools" tab located on the top bar.
3. Select "NuGet Package Manager" from the dropdown list.
4. Choose "Manage NuGet Packages for Solution."
5. Enter "ByteEditor" in the search field and select the first option from the result list.
6. Choose the project that you want to apply the package to and click the "Install" button.
Once the package is installed, you can click on the [IIS Express] button to run the website.
Congratulations! You can now use the solution immediately by using the localhost server. If you want to host the website on a cloud server or your own server, please consult with your developers or contact us.
How to install one of the ByteEditor templates
To install any of the available packages search for the corresponding package name instead of typing 'ByteEditor" in the search field.
Available starter kits
SaaS/Stratup Website Starter Kit. Copy "ByteAnt.ByteEditor.SaasStarterKit"
Agency Website Starter Kit. Copy "ByteAnt.ByteEditor.AgencyStarterKit"
Portfolio Website Starter Kit. Copy "ByteAnt.ByteEditor.PortfolioStarterKit"
Access Admin Panel
To access the admin panel of your website, add /Umbraco to the end of your website's URL.

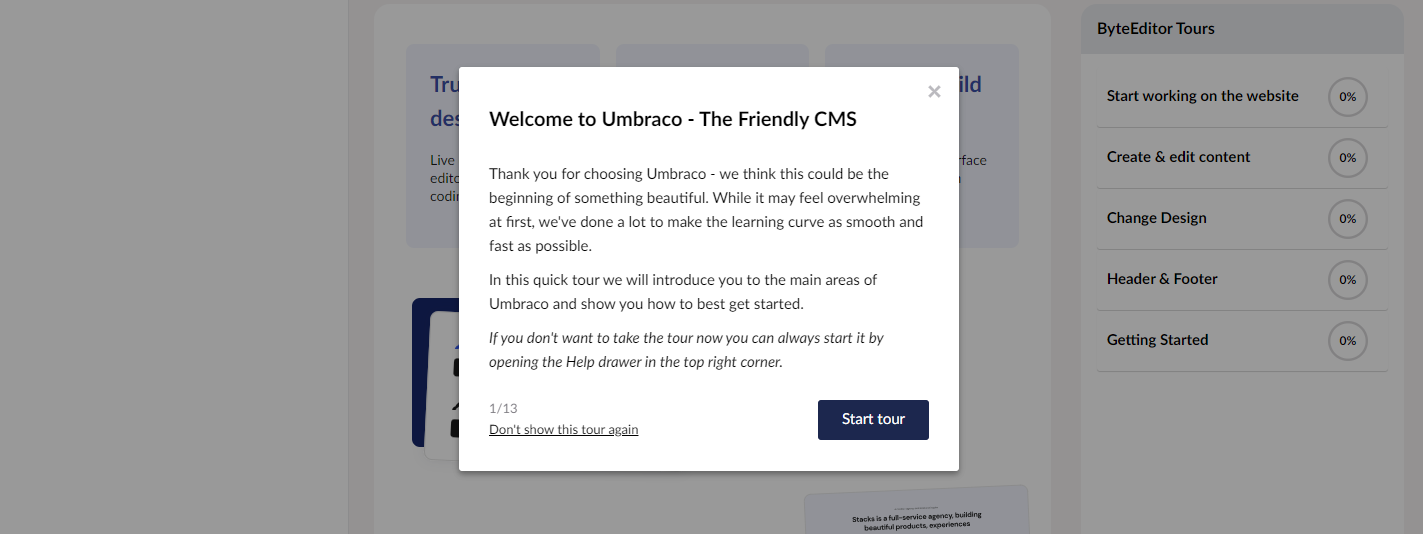
Check Guides
Please refer to our built-in guides to familiarize yourself with the main functionality.